
If you’re learning about kubernetes the best tool that you could find around is Minikube which is perfect because you don’t need to deal with a complete k8s installation Kubernetes Installation Options that looks really intimidating.
Minikube is a tool that makes it easy to run Kubernetes locally. Minikube runs a single-node Kubernetes cluster inside a VM on your laptop for users looking to try out Kubernetes or develop with it day-to-day. It allows to run a very simplistic one node Kubernetes cluster on a Linux VM. It’s the fastest and most straight forward way to get a fully functional Kubernetes cluster running in no time.
Today I want to share an even easier method to get a Minikube machine running on Azure so you don’t need to modify anything on your local system and you will get a cloud machine available from anywhere (this is a really good if you work on multiple machines)
So you will need:
- An Azure account (off course)
- A copy of this script in you local machine azuredeploy.json
- 5 minutes
Deploy template from Cloud Shell
We can use Cloud Shell to deploy your template. However, you must first load your template into the storage account for your Cloud Shell.
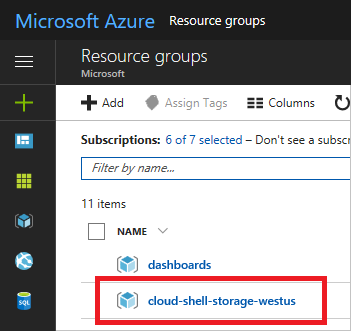
- Log in to the Azure portal
- Select your Cloud Shell resource group
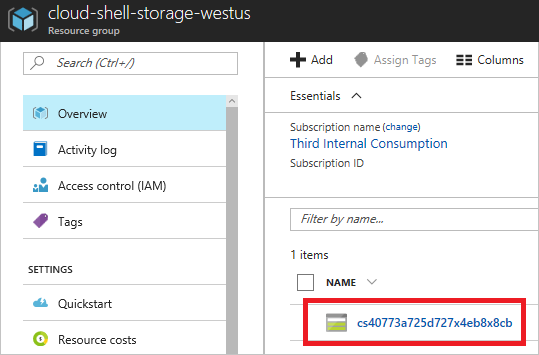
- Select the storage account for your Cloud Shell
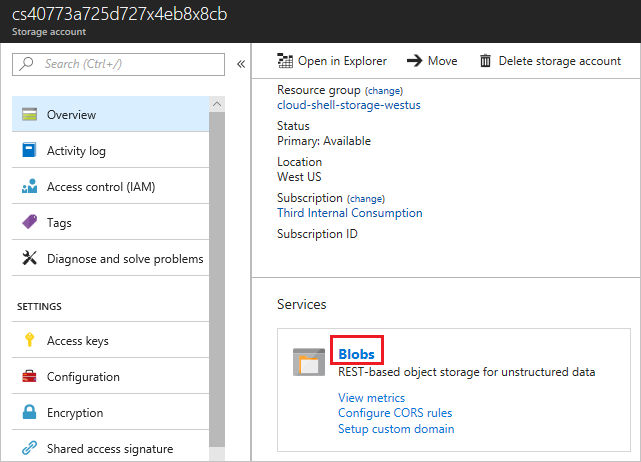
- Select Blobs
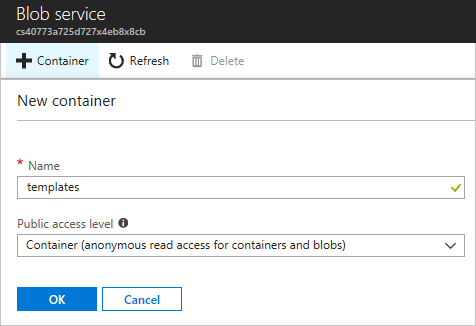
- Select + Container
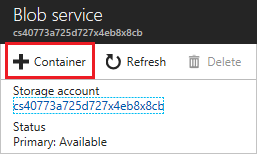
- Give your container a name and an access level. The sample template in this article contains no sensitive information, so allow anonymous read access. Select OK
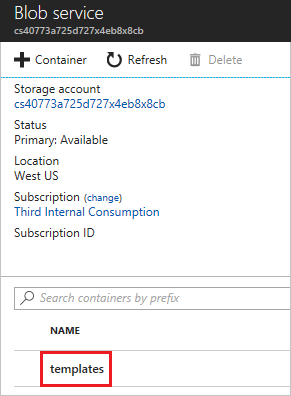
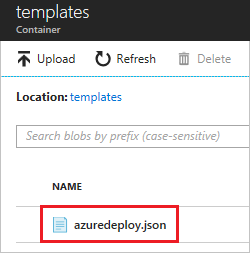
- Select the container you created
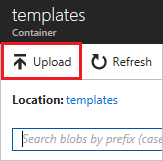
- Select Upload
- Find and upload your template
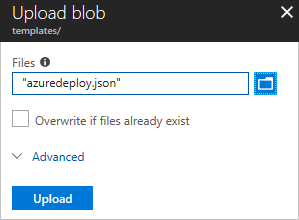
- After it has uploaded, select the template
- Copy the URL
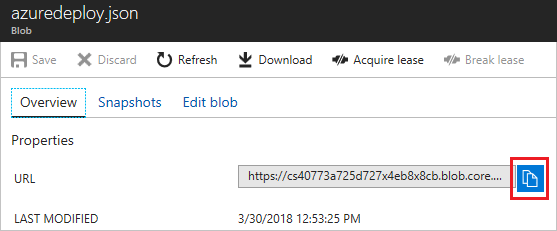
- Open the prompt

Run the template loaded in the Cloud Shell
We already have donne the complicated part (I promise), now that we have the template on our Azure account we could start the deployment using two commands:
New-AzureRmResourceGroup -Name miniKubeResourceGroup -Location "West Europe" Explanation:
- -Name : This will be the name for the new resource group created
- -Location : The location where this resource group will be created
New-AzureRmResourceGroupDeployment -ResourceGroupName miniKubeResourceGroup -TemplateUri copied-URL- -TemplateUri : Replace this for the URL copied from the step 11
As soon as you execute the last command the deployment will start. Eventually the command prompt will ask you for the admin username/password on this machine.
Connect to your new minikube machine
The last command deploys a linux virtual machine and generates a PublicIP resource so that users can RDP to it. To find out the public IP of the virtual machine, open the resource group and click on the virtual machine of the Resource Group generated by the template
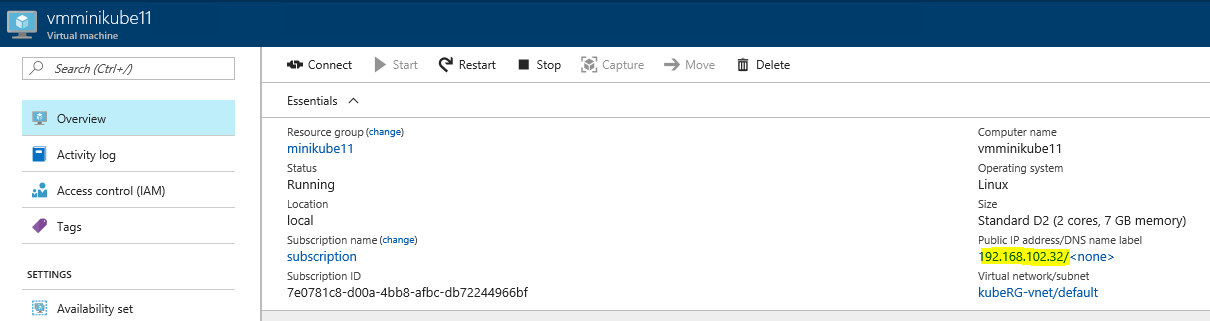
So now with the public IP you could SSH or RDP inside the Minikube instance
Start using Minikube
Open Terminal and enter following command to start minikube
sudo minikube start --vm-driver=noneCongratulations!!! you now have a fully working kubernetes installation using minikube running on Azure!